
If you're dealing with that sharp, stabbing heel pain from plantar fasciitis, you know how frustrating it can be. Taping your foot is one of the most effective ways to get some immediate relief. It works by creating a kind of external support system that takes the pressure off the inflamed plantar fascia ligament, giving it a chance to rest and heal.
Why Taping Your Foot Actually Helps Heel Pain
Before you just start wrapping your foot in tape, it helps to understand why this technique works so well. When you get the application right, you're not just covering the sore spot. You're actually building a support structure for your foot's internal architecture. The pain you're feeling comes from inflammation and tiny tears in the plantar fascia—that thick, stubborn band of tissue running from your heel to your toes.
Unloading the Strained Tissue
The main goal here is to take the load off that overworked ligament. When you apply the tape correctly, you're giving your arch a little lift, keeping it from collapsing too much every time you take a step. This simple move dramatically cuts down on the pulling and straining of the plantar fascia, which is exactly what it needs to heal.
Think of it like giving your foot its own suspension bridge. The tape helps distribute your weight more evenly and takes the direct pressure off that tender spot.
Taping essentially acts as a "second ligament," reinforcing your foot's natural support system. This allows the plantar fascia to rest and start healing, even while you’re on your feet.
This kind of mechanical support is a game-changer. It's especially helpful if you're wondering about how do you get plantar fasciitis in the first place, as it directly addresses common problems like flat feet or overpronation by temporarily correcting those faulty mechanics.
Improving Proprioception and Muting Pain Signals
Taping does more than just provide physical support; it also works on a neurological level. The gentle, constant pressure of the tape on your skin sends sensory signals back to your brain. This is a concept known as proprioception.
This heightened awareness can actually change how your brain interprets the pain signals coming from your foot. In a way, it helps "turn down the volume" on your discomfort. By making you more conscious of how you're moving, it can help you break the cycle of painful movement patterns that make the condition worse.
The research supports this idea, too.
- Immediate Pain Reduction: Studies have shown real short-term benefits. One randomized controlled trial found that kinesiology tape provides significant pain relief for people with plantar fasciitis, with the biggest improvement happening within the first two days of wearing it.
- A Holistic Approach: While taping is fantastic for tackling the immediate symptoms, true long-term healing comes from a combined strategy. For example, incorporating foods that help reduce inflammation into your diet can make a real difference in your overall recovery.
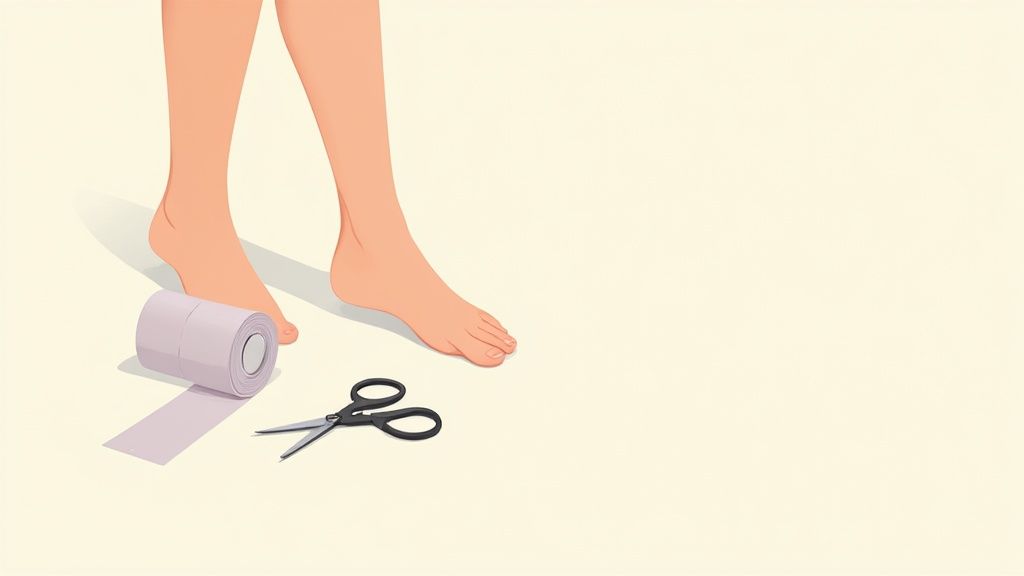
Choosing Your Tools and Prepping Your Foot
A good tape job comes down to two simple things: having the right supplies and prepping your foot correctly. You can't just grab a dusty roll of generic tape from the back of your medicine cabinet and expect it to work miracles. To get real relief, you have to be deliberate about your tools and your setup.
Think of this prep work as laying the foundation. Getting it right is the secret to a tape application that feels comfortable, provides support, and actually lasts more than a few hours. It's how you avoid annoying peeling edges, skin irritation, and tape that gives up on you halfway through the day.
Selecting the Right Tape for the Job
When you're dealing with plantar fasciitis, you'll mainly be looking at two kinds of tape. They might seem similar, but they function very differently and are used for different reasons. Making the right choice here is key to getting the support your foot needs.
To help you decide, here’s a quick breakdown of the two most common options.
Choosing Your Tape Kinesiology vs Rigid Athletic
| Feature | Kinesiology Tape | Rigid Athletic Tape |
|---|---|---|
| Flexibility | Highly flexible and stretchy | Zero stretch; completely rigid |
| Primary Goal | Provides dynamic support, improves circulation | Restricts movement, offers structural bracing |
| Feel | Moves with your skin, less restrictive | Feels like a firm, external brace |
| Best For | Daily activity, workouts, mild to moderate pain | Maximum arch support, severe pain, preventing arch collapse |
| Typical Use | Wearable for 3-5 days, even during showers | Usually worn for 1-2 days before needing replacement |
So, which should you choose? If your pain is intense or your arch needs serious, unwavering support, rigid athletic tape is your best bet for methods like the Low-Dye technique. But for everyday wear, workouts, or if you just can't stand feeling "locked down," the flexible support from kinesiology tape is a fantastic alternative.
A Quick Tip from Experience: If you know you have sensitive skin, do yourself a favor and look for hypoallergenic versions of either tape. Before you wrap your whole foot, stick a small test patch on your skin for a few hours. It’s a simple way to see if your skin will react before you’re fully committed.
The Importance of Skin Preparation
I can't stress this enough: even the best tape on the market will fail if you slap it on unprepared skin. A few minutes of prep work ensures the tape sticks properly, feels comfortable, and stays effective for days.
First things first, your foot must be completely clean and dry. Grab a cotton pad with some rubbing alcohol or just use soap and water to wipe down the entire area. You need to get rid of any lotions, natural skin oils, or sweat that could get between the adhesive and your skin.
Next, take a look at the top of your foot and around your ankle. If you have a fair amount of hair there, you’ll want to trim it. Hair gets in the way of a good stick and, trust me, makes removal a very unpleasant experience. You don't need a razor-close shave; just a quick pass with some clippers or scissors is all it takes.
Finally, think about your scissors. Any pair will technically cut tape, but using blunt-nosed or bandage scissors is a much safer bet. Those rounded tips really cut down on the risk of accidentally nicking yourself, especially if you need to trim a piece that’s already on your foot. For an even stronger, longer-lasting application, some people swear by a pre-taping adhesive spray like Tuf-Skin to create an ultra-tacky surface.
Applying the Low-Dye Method for Rigid Support
Alright, let's get down to business. It's time to build the supportive structure that’s going to give your foot some real relief. The Low-Dye taping method is a classic for a reason—physical therapists have relied on it for years because it provides firm, dependable support. Using rigid athletic tape, we’re essentially creating a brace to stop your arch from collapsing and take that nagging pressure off the plantar fascia.
I’m going to walk you through this in simple, manageable parts. Forget those confusing medical diagrams. We’ll focus on exactly what you’re doing and, more importantly, why you’re doing it. The aim is to build a tape job that feels supportive without being suffocating, helping you get back on your feet with less pain.
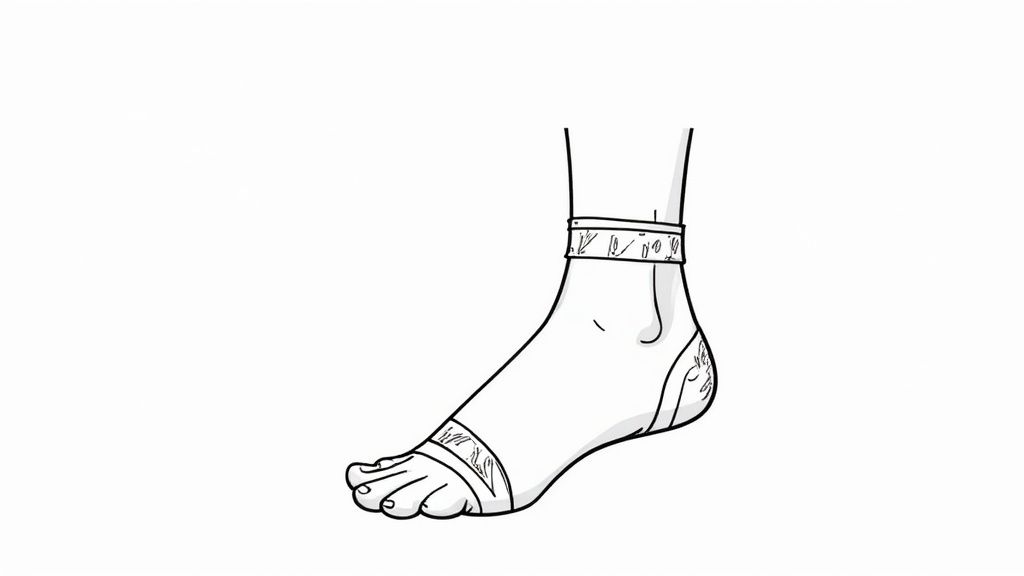
Setting the Anchor Strips
Every solid taping job starts with a good foundation. We call these first pieces of tape anchor strips, and their only job is to give the rest of the tape something secure to grab onto. If you skip this, your support strips will just pull directly on your skin, which feels awful and just doesn't work as well.
First, sit with your foot in a relaxed, neutral position. Grab your roll of 1.5-inch rigid athletic tape and wrap a single strip around the ball of your foot, right behind your toes. Apply it smoothly, with absolutely no tension. This isn't for support; it's just a landing pad.
Now for the second anchor. This one goes around your heel. Start a piece of tape on the inside of your heel, bring it around the back, and finish on the outside of your heel. Once again, lay it down with zero pull. These two anchors now create a perfect frame for the area we need to support.
A common mistake I see is people yanking these first strips way too tight. Remember, anchors are just a base. If you start with too much tension here, you risk cutting off circulation and making your foot uncomfortable before you even get to the important part.
Building the Arch Support Stirrups
This is where the magic really happens. These "stirrups" are the most crucial part of the Low-Dye method because they’re the pieces that will physically support your arch and offload that strained plantar fascia. You're going to create a series of overlapping strips running from your heel to the ball of your foot.
- First Stirrup: Start a new piece of tape on the outside of your heel anchor. Pull it down, bring it under your heel, and guide it across your arch. As you pull it across the arch, apply firm, upward tension before securing it to the anchor strip at the ball of your foot. That tension is what creates the lift.
- Overlapping Strips: You'll repeat this two to four more times. Each new strip should overlap the last one by about half its width. Imagine fanning the strips out, so each one follows a slightly different path to cover your entire arch, from the inside edge to the center.
- Tension is Key: Getting the pull just right is critical. You want it to feel snug and supportive, but never painfully tight. Think of it as gently lifting your arch back into a healthy, neutral position.
After laying down just a few stirrups, you'll already notice a huge difference in how supported your arch feels. This direct bracing is what makes the Low-Dye technique so great for immediate pain relief. It’s one of several effective approaches, and you can learn more about what to do for plantar fasciitis in our other guides.
Locking Everything in Place
The final step is to lock all your hard work down. If you just leave those stirrups exposed, the friction from walking and your sock will cause them to peel off in no time. Locking strips hold the whole thing together, creating a durable, cohesive support system that lasts.
It's simple: just re-apply the same two anchor strips you started with, placing them directly over the originals. Wrap one more strip around the ball of your foot and another around your heel, making sure to cover the ends of all your stirrup strips.
Finally, press down firmly and smooth out the entire tape job with your hand for a few seconds. The warmth from your hand helps the adhesive bond better to your skin and the other tape layers. Take a moment to smooth out any major wrinkles, as those can lead to blisters or irritation. And that's it—you now have a solid, supportive brace that's ready for action.
Using Kinesiology Tape for Flexible Support
While the rigid Low-Dye method is fantastic for locking down the arch, it isn't always the right tool for the job. If you're an active person, a runner, or just find rigid tape too restrictive for daily life, kinesiology tape is an excellent, more dynamic alternative. Its unique elasticity gives you real support without sacrificing your foot's natural range of motion.
Kinesiology tape works on a different principle than the rigid stuff. Instead of acting like a brace, it gently lifts the skin. This subtle action can help improve blood flow and lymphatic drainage right where you're feeling the pain. The whole idea is to make movement easier and less painful, which is a game-changer for anyone who needs to stay active.
Knowing how to tape your foot for plantar fasciitis with this flexible method gives you another powerful option. It’s perfect for managing moderate pain, getting through a workout, or any time you need support that moves with you.
Getting Your Kinesiology Tape Ready
First things first, you'll need to cut three strips from a standard 2-inch wide roll of kinesiology tape.
- The Decompression Strip: Cut one long piece, roughly 6 to 8 inches. This is your main anchor, running along the bottom of your foot.
- The Support Strips: Cut two shorter pieces, each about 5 to 6 inches long. These will give your arch some targeted lift.
Here’s a pro tip I swear by: round the corners of every strip with scissors. Sharp, square corners are notorious for catching on socks and peeling off way too soon. Rounding them makes a huge difference in how long the tape job lasts.
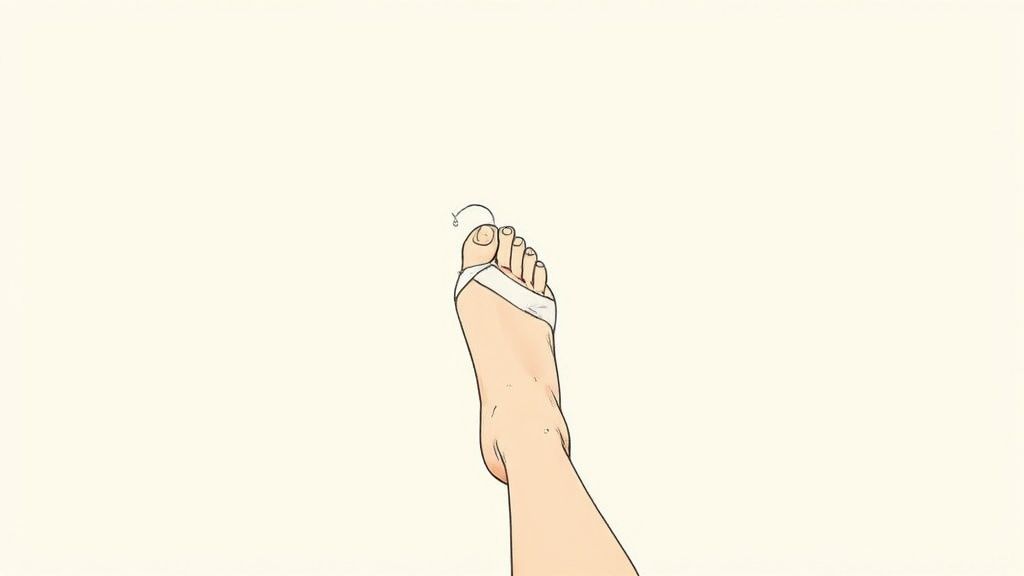
Applying the Lengthwise Support
Let's start by supporting the full length of the plantar fascia. Sit down comfortably and flex your foot up, pulling your toes back toward your shin. This position pre-stretches the fascia, which is essential for this technique to work properly.
Grab your long decompression strip. Anchor one end—with absolutely zero stretch—right behind the ball of your foot. Now, gently pull the tape to about a 50% stretch as you lay it down your arch and over your heel. Make sure the last inch of tape, the part that lands on the back of your heel, is applied with no stretch at all.
This strip essentially acts as a second, supportive ligament, helping to offload some of the strain from your irritated plantar fascia.
By applying the tape while your skin and muscles are stretched, you create a “recoil” effect when your foot relaxes. This gentle lift is what helps decompress the tissue underneath and boost circulation.
Creating the Arch Cross-Support
Now it’s time to add the two shorter strips for that focused arch support. Stay seated with your foot still flexed.
Take one of your shorter strips and find its center point. Apply a good, firm stretch—around 75%—to just the middle couple of inches. Place this stretched section directly under the highest point of your arch. Then, lay down both ends on the top of your foot with zero stretch.
Do the same thing with the second short strip, placing it just behind the first one (closer to your heel). These two bands work together to create a supportive sling that gently lifts your arch from below.
Once all the tape is in place, rub it all over for about 30 seconds. The friction creates a little heat, which is what activates the adhesive and gives you a strong bond that will last.
This isn't just about physical support; this method can actually improve how your foot moves while it heals. A 2020 study found that while both kinesiology tape and other treatments helped with pain, taping was unique in its ability to improve foot function. If you're curious, you can check out the full findings on kinesiology tape’s effectiveness.
Alright, you've got your foot taped up and it's probably feeling a whole lot better. But don't get ahead of yourself—the job isn't quite finished. How you handle the tape after you've applied it is just as important as getting the application right in the first place.
Think of the tape as a temporary brace. Most athletic or kinesiology taping will give you solid support for about two to four days. You’ll know it’s time for a fresh application when the edges start to curl up, that secure feeling fades, or your skin starts to get itchy.
Getting the Tape Off Without Tearing Your Skin Off
When it's time for a change, whatever you do, don't just rip it off like a Band-Aid. I've seen plenty of people do this, and it almost always damages the top layer of skin. This not only hurts but also makes your next taping session a nightmare.
A little patience goes a long way. The trick is to weaken the adhesive first, and you probably have what you need right in your cabinet.
- Oil is Your Best Friend: Slather some baby oil or olive oil all over the tape. Let it soak for 15-20 minutes. The oil gets underneath and breaks down the glue, making it easy to peel off.
- Take a Warm Soak: Hopping in a warm shower or soaking your foot in a bath for about 10 minutes also does wonders to loosen the adhesive.
Once you've done that, start at one end and gently roll the tape back on itself. Always pull in the direction your hair grows—it’s much more comfortable.
Common Taping Blunders to Sidestep
Even if you follow the application steps perfectly, a few common mistakes can ruin all your hard work. Knowing what they are will save you a lot of grief.
The biggest mistake I see is pulling the tape way too tight. You’re looking for support, not a tourniquet. If your foot starts to feel numb or you notice painful pressure spots, you’ve gone too far. The tape should feel snug and secure, never constricting.
Another classic error is not giving your skin a breather. Your skin needs a break! Always leave the tape off for at least 12-24 hours between applications. This lets your skin recover and prevents irritation from building up over time.
Crucial Takeaway: Never, ever apply tape to skin that’s already irritated, broken, or sunburned. You'll just make things a thousand times worse and risk infection. Always start with a clean, dry, and healthy canvas.
Finally, keep in mind that taping is just one piece of the puzzle. It’s fantastic for immediate support and pain relief, but it’s most effective when you pair it with other recovery strategies. To build a more robust plan, you can learn more about how to treat a plantar fasciitis with a multi-faceted approach.
Got Questions? Let's Talk Foot Taping
It's one thing to read instructions, but it's another to actually start wrapping your own foot. When you're new to foot taping, a handful of questions always pop up. That's completely normal. Let’s walk through some of the things people often ask so you can get this right from the start.
Can I Get the Tape Wet?
Yes, you absolutely can! Most kinesiology tapes are made to be water-resistant. In fact, the adhesive is often heat-activated, so a warm shower can sometimes make it stick even better.
When you get out, just pat the area dry with a towel. Don't rub it, as that friction can start to peel the edges up. If you're using the more traditional, rigid athletic tape, try to avoid soaking it for long periods in a bath or pool, as that can make it lose its stickiness and support.
How Tight Should the Tape Feel?
Think of it as a firm, supportive hug for your arch—not a tourniquet. The tape should feel snug and secure, but never constricting. When you stand up, you should notice an immediate feeling of lift or relief.
If you feel any tingling, numbness, see discoloration, or your pain actually gets worse, the tape is too tight. Don't hesitate—take it off immediately and reapply with less tension. Your body's signals are your best guide.
What If My Skin Starts to Itch?
A little bit of light itching isn't uncommon, especially when you first apply the tape. But if it's persistent, intense, or you see a rash developing, that’s your skin telling you something isn't right. It could be a sensitivity to the adhesive or a sign the tape has been on too long.
Take the tape off right away if it's really bothering you. Give your skin a break for at least 24 hours before you try again. If it happens a second time, it might be worth looking into a different brand that offers a hypoallergenic option.
Is It Safe to Tape My Foot Every Day?
While taping is fantastic for getting you through the day, your skin does need a chance to breathe. It’s a good practice to leave the tape off for at least 12-24 hours between applications.
Leaving it on 24/7 without a break can lead to skin irritation or breakdown over time. You need to give your skin a rest.
Fortunately, taping methods are getting better and easier all the time. A recent clinical study on a new taping technique found it was a reliable method that people could easily do themselves at home. The interesting part? The study showed that this simple taping method could provide pain relief that was impressively close to what you'd get from medical injections. You can discover the full study on at-home taping for yourself.
Taping is a powerful tool for immediate relief, but for consistent, long-term support, nothing beats a great pair of insoles. The experts at Samurai Insoles have designed orthotics that slide right into your favorite shoes, addressing the root cause of your plantar fasciitis with every step. Find your perfect fit at Samurai Insoles today!