
Let's be honest, that flimsy piece of foam that came inside your brand-new hiking boots? It's not a real insole. It’s a placeholder, a generic liner designed for a mythical "average" foot that simply doesn't exist in the real world.
The best insoles for hiking boots are always aftermarket upgrades. They’re built to support your specific foot shape and needs, transforming a good boot into a great one.
Why Stock Insoles Are Holding Your Feet Back
Think of the insoles that came with your boots like a one-size-fits-all t-shirt. Sure, it technically covers you, but it offers zero performance, targeted comfort, or support where it matters. Stock insoles are mass-produced the same way—they're a low-cost component meant to finish the boot, not to genuinely improve your hike.
These basic foam liners just don't have the structure to handle the complex mechanics of your feet on uneven terrain. Without proper arch support or a deep, stabilizing heel cup, your feet are left to absorb the full impact of the trail all on their own.
The Foundation of Your Hike
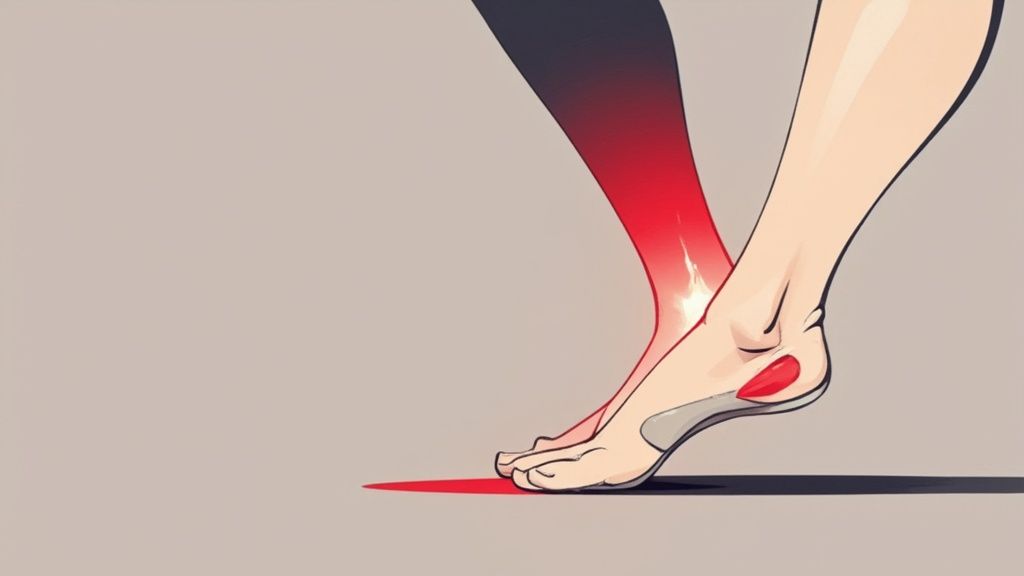
Every single step you take sends a shockwave up your body, starting at your feet and traveling through your ankles, knees, and even into your lower back. A quality insole is the foundation that absorbs that shock and aligns your entire body correctly.
When your feet are properly supported, you take a massive amount of stress off every joint above them. This isn't about adding squishy, pillow-like cushioning; it’s about providing the right biomechanical structure for your foot to function naturally.
Proper alignment is the key to preventing the most common pains hikers face:
- Arch Strain: An unsupported arch collapses with every step, leading to fatigue and that familiar aching pain.
- Blisters: When your foot isn't stable, it slides around inside the boot, creating friction and painful hot spots.
- Knee and Hip Pain: Misalignment from issues like overpronation forces other joints to overcompensate, often resulting in soreness where you least expect it.
- General Fatigue: Your muscles have to work overtime just to keep you stable, draining your energy much faster.
Upgrading Is a Necessity, Not a Luxury
Swapping out your stock liners is one of the single most impactful gear upgrades you can make. It turns your boots from simple footwear into a personalized support system tailored to you.
More and more people are catching on to the importance of foot health. In fact, the orthopedic insole market, which includes performance insoles for hikers, is expected to jump from USD 3.2 billion in 2025 to USD 6.7 billion by 2035. This growth is fueled by people looking for real solutions to common issues like plantar fasciitis and sports injuries. You can find out more about this market growth on Future Market Insights.
An aftermarket insole isn't just an accessory; it's a fundamental piece of performance gear. It's the difference between ending your hike with sore, aching feet and finishing strong, ready for whatever comes next.
By investing in the right support, you’re not just buying comfort for today. You’re investing in injury prevention, better endurance, and a much more enjoyable experience on every trail you explore.
How to Understand Your Unique Foot Shape
Before you can pick the right insoles for your hiking boots, you have to get to know your own feet. It’s a bit like getting a car alignment—if things aren't lined up correctly, you’ll get uneven wear and a bumpy ride. Your feet work the same way.
The good news is that you don't need a fancy lab to figure this out. It all comes down to two simple things: your arch type and how your foot pronates. Nailing these two down is the single most important step you can take toward finding insoles that actually feel good on the trail.
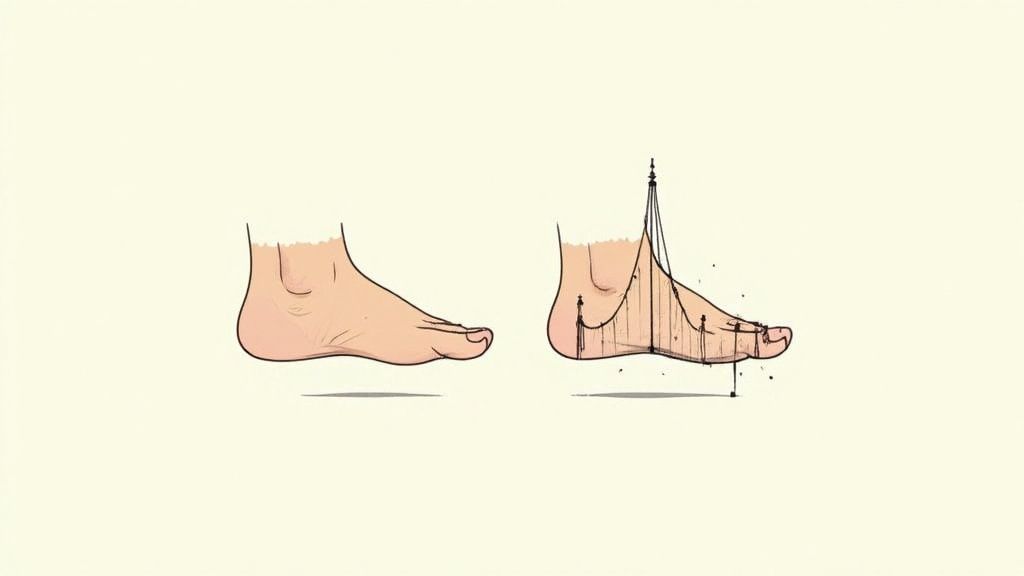
Discover Your Arch Type With the Wet Test
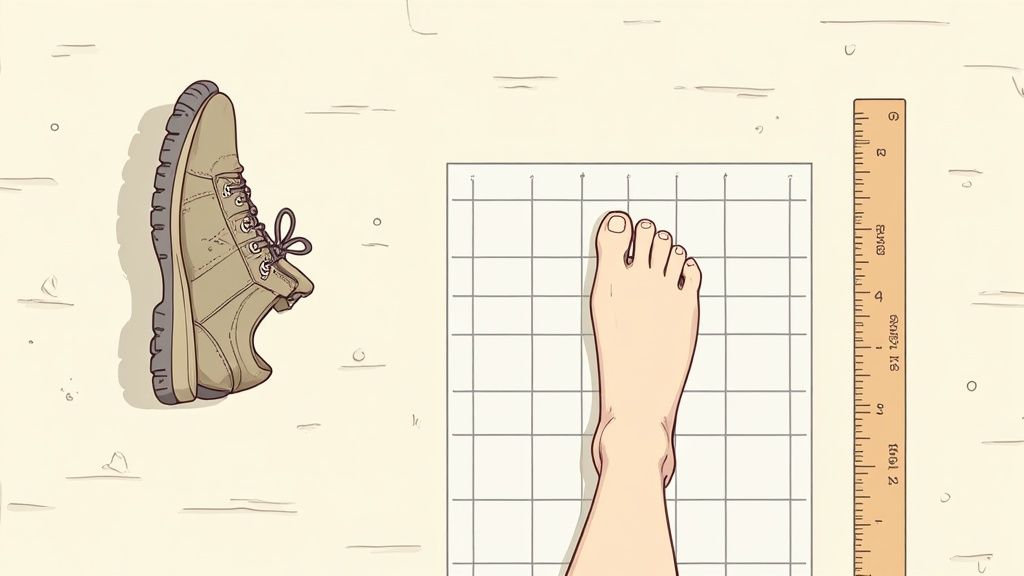
The easiest way to see what you're working with is the classic "wet test." It's an old-school trick that gives you a surprisingly clear picture of your foot's structure. All you need is a bit of water and a piece of cardboard or a brown paper bag.
Here's how to do it:
- Wet Your Foot: Just dip the sole of your bare foot in a shallow pan of water.
- Make Your Mark: Step firmly onto the cardboard, putting your full body weight on it for a moment.
- Check the Print: Step off and take a look at the footprint you left. The shape tells the whole story.
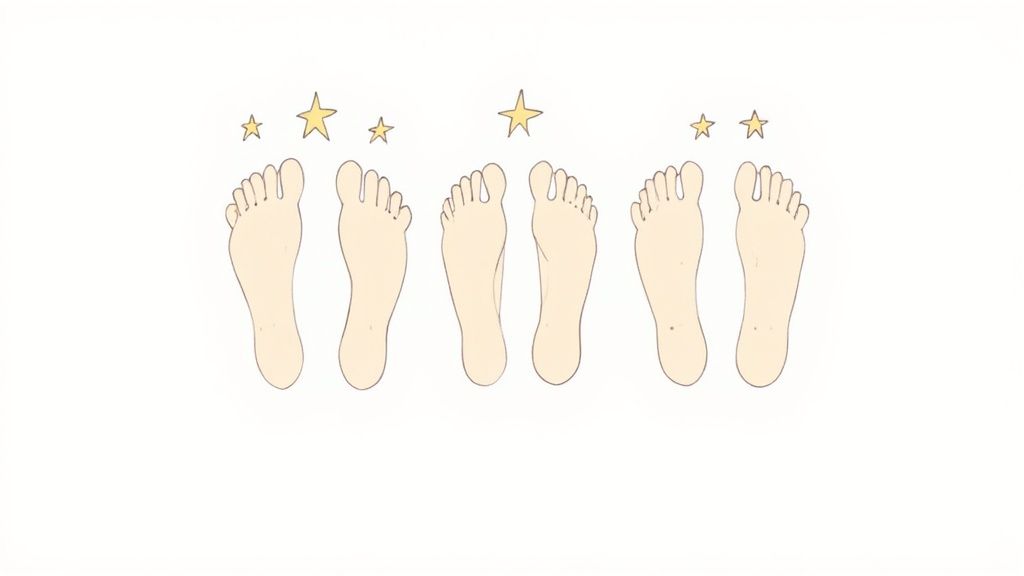
You'll see one of three patterns, and each one points to a specific arch type.
- Low Arches (Flat Feet): Your footprint looks like a solid block. If you see almost the entire outline of your foot with very little curve on the inside, it means your arch collapses and makes full contact with the ground.
- Neutral Arches: You'll see a distinct heel and forefoot connected by a wide, clear band. This is the "just right" arch—not too high, not too low—and it’s what biomechanics experts consider ideal.
- High Arches: The print shows your heel and the ball of your foot, but they're connected by a super thin line, or maybe not at all. This means your arch sits high off the ground, forcing your weight onto just those two points.
If you have low arches, you're not alone. It's a common cause of trail fatigue. You can learn more in our guide on what causes fallen arches and how to deal with them.
What Is Pronation and Why Does It Matter?
Okay, you know your arch type. Now let’s talk about pronation. It's just a term for the natural way your foot rolls from side to side when you walk. Think of it as your body's built-in suspension system—a little bit of that rolling motion is crucial for absorbing shock.
The problems start when your foot rolls too much or not enough. And guess what? Your arch height is the main thing that determines which way you go.
Your arch structure is the primary driver of your pronation pattern. A collapsing low arch often leads to overpronation, while an overly rigid high arch can cause supination.
Let's break that down:
- Neutral Pronation: This is the sweet spot. Your foot rolls inward about 15%, which is perfect for absorbing impact and keeping your legs aligned.
- Overpronation: Your foot rolls inward way past that 15% mark. This is the classic pattern for people with low arches or flat feet.
- Supination (or Underpronation): Your foot barely rolls inward at all, keeping your weight stuck on the outer edge. This is common with high, stiff arches.
For hikers, overpronation is a huge pain—literally. When your arch collapses and your ankle rolls in too far, it sends a shockwave of misalignment up your entire body. That strain hits your ankles, shins, knees, and can even mess with your hips and back. On a long hike, that extra stress can lead to serious aches and even injury.
To make things easier, here's a quick guide to connect your foot type with the kind of support you should be looking for.
Matching Your Foot Type to Insole Needs
| Foot Type | Common Hiking Issues | Recommended Insole Support |
|---|---|---|
| Low Arches / Overpronation | Plantar fasciitis, shin splints, knee pain, general foot fatigue. | Firm arch support to prevent collapse, deep heel cup for stability. |
| Neutral Arches | General fatigue on long hikes, occasional hot spots. | Balanced cushioning with moderate, flexible support to maintain alignment. |
| High Arches / Supination | Metatarsalgia (ball-of-foot pain), ankle instability, stress on outer foot. | Cushioned support with a focus on shock absorption, plus a heel cup. |
By figuring out your arch type and understanding how you pronate, you now have the exact information you need to find the best insoles for hiking boots—ones that give you targeted, effective support right where you need it most.
Decoding the Key Features of a Great Hiking Insole
When you start shopping for hiking insoles, it's easy to get buried in marketing hype. To make a smart choice, you need to know what actually makes an insole work on the trail. It's not about being the softest or the thickest; it’s about having the right kind of structure in four key areas.
Think of these components as a high-performance suspension system for your feet. Each part has a specific job, and when they work together, they can turn a painful trek into a comfortable adventure.
Let's break down exactly what to look for.
The Critical Role of Arch Support
Arch support is the absolute heart of a great hiking insole. Your arch is your body’s natural shock absorber, but it wasn't built to handle the constant stress of carrying a heavy pack over miles of uneven ground. Without help, your arch can start to collapse with every step, which quickly leads to fatigue and nagging pains like plantar fasciitis.
But here’s the thing: not all arch support is created equal. You’ll generally run into two types:
- Rigid Support: This is like a sturdy bridge under your foot. It provides a firm, unyielding structure that stops your arch from collapsing. This is a game-changer for controlling overpronation and keeping your whole body in alignment. If you need maximum stability, this is your go-to.
- Flexible Support: This style is more like a leaf spring in a truck. It moves and flexes with your foot, offering dynamic support that adapts to your stride while still preventing that excessive collapse. This is often a more comfortable choice for people with neutral arches or those who just prefer a less aggressive feel.
Finding that sweet spot is everything. The goal isn't to force your arch into a new shape, but to support the one you already have.
The Unsung Hero: A Deep Heel Cup
While arch support gets all the glory, the heel cup is the unsung hero of stability. Picture yourself coming down a steep, gravelly trail. Your foot naturally wants to slide forward in your boot, causing your heel to lift and slip around. We’ve all been there.
A deep, structured heel cup is what solves this. Its job is to lock your heel in place, cradling the fatty pad underneath it to get the most out of your body's own cushioning. By stopping your heel from wiggling side-to-side or up-and-down, a good heel cup delivers two huge benefits.
First, it drastically cuts down on the friction that causes those awful blisters on your heel and Achilles. Second, it gives you an incredible sense of control and stability, especially on tricky descents where a secure footing is non-negotiable.
Cushioning for Impact Absorption
Every single step on the trail sends a shockwave up from your foot through your knees, hips, and back. Good cushioning isn't about creating a mushy, pillow-like feel—it's about absorbing that impact to protect your joints. The two materials you'll see most often are foam and gel.
Foam Cushioning
- Pros: It’s lightweight, gives you great energy return, and can be molded into specific shapes for targeted support. High-density foams are built to last and resist "packing out" (compressing permanently).
- Cons: Cheaper, lower-quality foams can flatten out in a hurry, losing their effectiveness.
Gel Cushioning
- Pros: Amazing at absorbing shock in specific spots, especially high-impact zones like the heel and the ball of your foot.
- Cons: It can be heavier than foam and sometimes feels a bit less stable if used too broadly.
For hiking, a hybrid approach is often best. High-density foam can provide the overall structure and resilience, while targeted gel or foam pods can soak up the heavy hits from rocky terrain.
Trail-Ready Materials and Construction
Finally, the materials an insole is made of are vital for all-day comfort. Even the most supportive insole is useless if it traps sweat and turns your boot into a swamp. That’s why a moisture-wicking top layer is an absolute must-have.
This top fabric should pull sweat away from your skin so it can evaporate, keeping your feet drier and dramatically lowering your risk of blisters. Many top-tier insoles also have an antimicrobial treatment to stop odor-causing bacteria from growing—a very welcome feature on multi-day trips.
This focus on detail is what’s driving real innovation in the industry. As more people understand the importance of foot health, the market for athletic insoles is projected to grow from USD 10.2 billion in 2025 to USD 18.9 billion by 2035. This huge jump reflects a demand for smarter materials and better designs in our gear. You can discover more insights about the athletic insole market growth on Future Market Insights.
For hikers dealing with specific issues like overpronation, understanding these features is even more critical. To get a better handle on how your foot mechanics can impact your hike, check out our guide on what is overpronation of the foot.
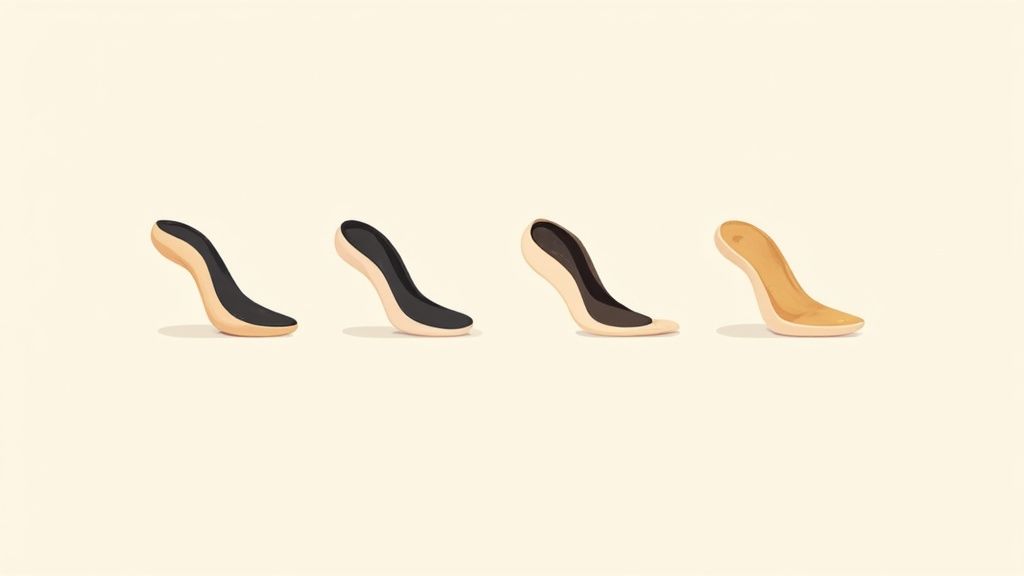
Comparing Your Options from Basic to Custom
Walking into the insole aisle can be overwhelming, but it's simpler than it looks. Your options really fall into three main camps, each offering a different level of support and, of course, a different price tag. Figuring out where you fit helps you get exactly what your feet need without paying for features you don't.
I like to think of it like buying tires for a car. You’ve got your standard, all-season tires that get the job done, performance tires for better handling on curvy roads, and then specialized off-road tires for serious adventures. Insoles work the same way.
Off-the-Shelf Cushioning Insoles
These are the soft, squishy insoles you’ll find in just about any pharmacy or big-box store. Made of basic foam or gel, their one and only job is to add a little extra padding under your foot. They’re a definite step up from the paper-thin liners your boots came with, but that's about it.
Here’s the catch: they offer almost zero structural support. You won't find a firm arch or a deep heel cup, which are the two key ingredients for keeping your foot stable on tricky, uneven ground.
So, who are these for?
- Hikers with perfectly neutral arches who don't struggle with foot pain.
- Someone who just wants a cheap, quick comfort boost for short, flat trails.
- Anyone needing to replace a worn-out stock insole without spending much.
Honestly, for serious hiking, these are more of a band-aid than a real solution. They don’t fix the underlying problems that lead to tired, achy feet on the trail.
Supportive Semi-Rigid Insoles
Now we're talking. This is the sweet spot for most hikers and where you’ll find the best insoles for hiking boots. Options like Samurai Insoles are engineered to do two jobs at once: provide comfort and real, functional support. They combine soft cushioning with a semi-rigid shell that cradles your arch and locks in your heel.
This design is the true workhorse of the insole world. The structured arch keeps your foot from rolling inward (overpronation), and the deep heel cup holds everything in place, giving you better stability and cutting down on the friction that causes blisters. It’s a level of biomechanical help that a simple gel insert just can’t offer.
Think of supportive insoles as a guide for your foot. They correct your alignment with every step, which helps prevent pain from radiating up to your ankles, knees, and even your hips. It’s the perfect blend of control and flexibility for the trail.
This category gives you a major performance upgrade for a reasonable price, making it the most practical and effective choice for both weekend warriors and long-distance backpackers.
Custom Prescription Orthotics
At the very top of the ladder are custom orthotics. You can't just grab these off a shelf; they are medical-grade devices prescribed by a podiatrist. They’re built from a 3D scan or a physical mold of your feet, meaning they are made just for you to correct specific and often severe foot issues.
Custom orthotics are the go-to solution for people with chronic problems like debilitating plantar fasciitis, structural foot deformities, or nagging pain that nothing else has fixed. While the level of personalization is second to none, it comes at a price—often several hundred dollars—and can take weeks to be made.
The rising demand for custom solutions points to how seriously people are taking their foot health. The global market for foot orthotic insoles was valued at USD 4.22 billion in 2024 and is expected to climb to USD 7.16 billion by 2032. With North America making up 42.89% of sales, it’s clear there’s a strong focus on advanced foot care. You can explore the full forecast on foot orthotic insoles on Fortune Business Insights to see the data for yourself.
But for the vast majority of hikers, a well-designed supportive insole provides all the trail-ready benefits you need without the high cost and clinical hassle of going fully custom.
How to Get the Perfect Insole Fit in Your Boots
You’ve picked out the right insoles—that’s a huge win. But you’re not quite at the finish line. The last, and maybe most critical, step is making sure they actually fit inside your hiking boots perfectly. A sloppy fit can cause bunching, hot spots, or sliding, which totally defeats the purpose of all that new support.
Think of it like getting a great suit off the rack. The material might be top-notch, but it’s the tailor’s final tweaks that make it feel like it was made just for you. Let's walk through how to get that custom-fit feel for your insoles.
Use the Original Liner as Your Guide
By far the easiest way to nail the size is to use the liner that came with your boots as a template. It’s already a perfect match for the inside of your boot, so why reinvent the wheel? It’s your stencil for a perfect fit.
Here’s how to do it, step-by-step:
- Pull Both Insoles Out: Take the factory insole out of your boot and lay it on a flat surface. Now, place your new insole right on top of it.
- Line Up the Heels: This is the most important part. Match up the heels of both insoles perfectly. The heel cup is your anchor point and rarely needs trimming, so get that alignment spot-on.
- Trace the Toe Box: Grab a pen or marker and carefully trace the outline of the original insole onto the front part of your new one. You only need to mark the toe area, since that’s where all the trimming happens.
- Cut with Confidence: Using a sharp pair of scissors, cut along the line you just drew. Take your time here.
Pro Tip: If you're a little hesitant, cut slightly outside the line first. You can always shave off a little more if you need to, but you can’t put it back once it's cut.
Test the Fit Before You Hike
Once you've trimmed your insole, it's time for a test run. Don’t just drop it in and call it a day—you need to check for a few things to avoid misery on the trail.
Slide the freshly cut insole into your boot. Make sure you push it all the way back so the heel sits snugly in the back. Now, run your hand along the inside surface. You're feeling for two big problems:
- No Wrinkles or Bunches: The insole has to lie completely flat. Any ripples, especially up in the toe box, will cause serious discomfort.
- No Gaps: It should sit flush against the inner walls of the boot without any major gaps on the sides.
If it feels smooth, put your boots on, lace them up, and walk around your house for a bit. How does it feel? Anything pinching or rubbing? A perfect fit feels like it’s just part of the boot, not something you added. For more great advice, our guide on how to choose shoe inserts has extra tips on what to look for.
Don’t Skip the Break-In Period
Last but not least, give your feet a little time to adjust. Even with a flawless fit, a new, supportive insole changes the way your foot sits and works. Start by wearing them around the house for an hour or two, then maybe on a quick walk around the block.
This little break-in period lets your foot muscles get used to the new support system. It’s also your best chance to catch any minor issues before you’re five miles deep in the backcountry. Taking this final step is what ensures your insoles are truly ready to keep you comfortable on all your adventures.
Time to Take the Next Step
Think of all the gear you've invested in for your hikes—the pack, the boots, the high-tech jacket. But what about the one piece of equipment that connects you directly to the trail? Investing in a quality pair of insoles for your hiking boots is easily one of the smartest, most immediate upgrades you can make. It’s a small change that pays huge dividends in comfort, helping you push further and feel better at the end of the day.
Your feet are your most important asset out there. It's time to stop guessing and start supporting them properly. Now that you know more about your own foot anatomy, you can pick an insole that offers specific, targeted support, not just some generic cushion. This is about finding a solution that works with your body, not against it.
Your Trail-Ready Checklist
Let's boil it all down. Before you pull the trigger on a new pair of insoles, run through this quick pre-hike check.
- Know Your Feet: Don't skip the wet test. Figuring out if you have low, neutral, or high arches is the absolute starting point for finding support that matches your body's mechanics.
- Structure Before Squish: This is a big one. Real support comes from a firm, structured arch and a deep heel cup—not just soft, squishy foam. Those two features are what keep your foot stable and control overpronation, especially on tricky, uneven ground.
- Nail the Fit: An amazing insole is worthless if it slides around in your boot. Use the liner that came with your boots as a perfect template for trimming. And give yourself a few days to break them in before you tackle a serious hike.
Focusing on these three things—your foot shape, structured support, and a perfect fit—is the key. It's the difference between just buying another product and truly investing in a personalized support system for your feet.
Armed with this knowledge, you're ready to find a pair of insoles that will cut down on fatigue, fend off those all-too-common hiking pains, and unlock a whole new level of trail comfort. Your next amazing hike is waiting.
A Few Common Questions About Hiking Insoles
Even after you've picked out a great pair of insoles for your hiking boots, a few practical questions almost always pop up. Nailing these little details is key to getting the most out of your upgrade and keeping your feet happy on every adventure. Let's tackle some of the things people ask most often.
How Often Should I Replace My Hiking Insoles?
There’s no magic number here—it really depends on how many miles you’re putting in and how rough those trails are. As a general guideline, plan on swapping them out every 300-500 miles, which for a regular hiker is about once a year.
But honestly, your feet will tell you when it's time. Keep an eye out for these tell-tale signs:
- They look flat: If the foam looks permanently squished down, especially under the heel or the ball of your foot, it’s not absorbing shock anymore.
- They're falling apart: Any obvious cracks or tears in the arch or heel cup mean the insole has lost its structural support. It’s done.
- The old pain is back: If those familiar aches and pains start creeping back in after a hike, your insoles have probably lost their supportive mojo.
Can I Swap One Pair of Insoles Between Different Boots?
Yes, absolutely. As long as your boots are a similar style and size, you can definitely move your insoles from one pair to another. It's a great way to get that same consistent feel and support without having to buy a dedicated set for every pair of shoes you own.
Just be aware of the fit. A beefy, high-volume insole made for a spacious hiking boot might feel cramped inside a sleek trail runner. Always pop them in and walk around a bit to make sure nothing is bunching up or pinching your toes.
Do I Need Different Insoles for Day Hikes vs. Backpacking Trips?
Not necessarily. For most hikers, one top-notch pair of supportive insoles will work perfectly for both. The fundamentals of good arch support and a stable heel are just as important whether you're hiking for five miles or fifty.
The real difference is the weight on your back. When you’re backpacking, that heavy pack multiplies the stress on your feet. This is where a solid, semi-rigid insole proves its worth by keeping your arch from collapsing under all that extra load. A flimsy gel insole that feels okay on a short walk will bottom out in a hurry when you're carrying a heavy pack.
A well-made insole with a strong, supportive structure is your all-rounder. It gives you the stability you need for a quick day hike and the heavy-duty protection required when you’re loaded down for a multi-day trek.
Will New Insoles Make My Boots Feel Too Tight?
That’s a very common worry, but it’s rarely a problem if you do it right. Good aftermarket insoles are designed to completely replace the flimsy foam liner that came with your boots—you don't stack them on top. Because you're taking one thing out and putting another in, the overall volume inside the boot stays about the same.
Now, if your boots were already skin-tight to begin with, a super thick, cushioned insole might make things a little snug. But the best insoles for hiking focus more on providing efficient, streamlined support rather than bulky padding, so they usually fit perfectly.
Ready to give your feet the rock-solid support they deserve on the trail? The expertly designed insoles from Samurai Insoles provide the perfect blend of stability and comfort to help you conquer any terrain.
Discover the right Samurai Insoles for your next adventure at samuraiinsoles.com